Here is how to navigate hill walking Scotland routes with confidence: carry an OS Explorer map and a baseplate compass, learn to orient the map before anything else, and practise on low, familiar ground before attempting Highland terrain.
A path forks in cloud, two tracks look equally likely and the map no longer seems to match the ground. That moment is far easier to handle when the basics have been rehearsed on a low hill with clear views. Where you may walk also depends on Scotland outdoor access rights, which the Scotland outdoors hub covers alongside other hillgoing basics.
Choosing the right map scale
For walking, the OS Explorer map is the sheet to carry. Ordnance Survey’s Explorer maps are drawn at 1:25,000, so 4 cm on the map equals 1 km on the ground, according to a basic navigation guide. The orange-covered sheets show fine detail, including field boundaries, walls and small streams. Those small features are exactly what a walker uses to confirm a position.
The Landranger map at 1:50,000 gives 2 cm per km. It has no field boundaries and shows only building clusters, so it suits planning a day or choosing an area rather than finding your way on the hill. The practical split is simple: plan with a Landranger sheet if you like the wider view, but carry the Explorer.
The extra detail matters most when visibility drops. A wall or stream that appears on the map but not on a coarser sheet gives you something to look for, and an Explorer sheet gives you more of those checks along a route.
Reading contour lines to understand slopes
Contour lines are the part of the map that turns a flat sheet into hills, and reading them is the most useful map skill after orienting. On OS Explorer maps the contour interval is 5 m in lowland areas and 10 m in mountainous terrain, as set out in the same guide. The same number of lines therefore represents more height on a mountain sheet than on a lowland one, so check the interval before judging a climb.
Spacing tells you how steep the ground is. Lines close together mean steep ground, and lines far apart mean a gentle slope. As an example of stacking, five contour lines close together represent a 50 m height change, which is a sharp pitch rather than a steady rise.
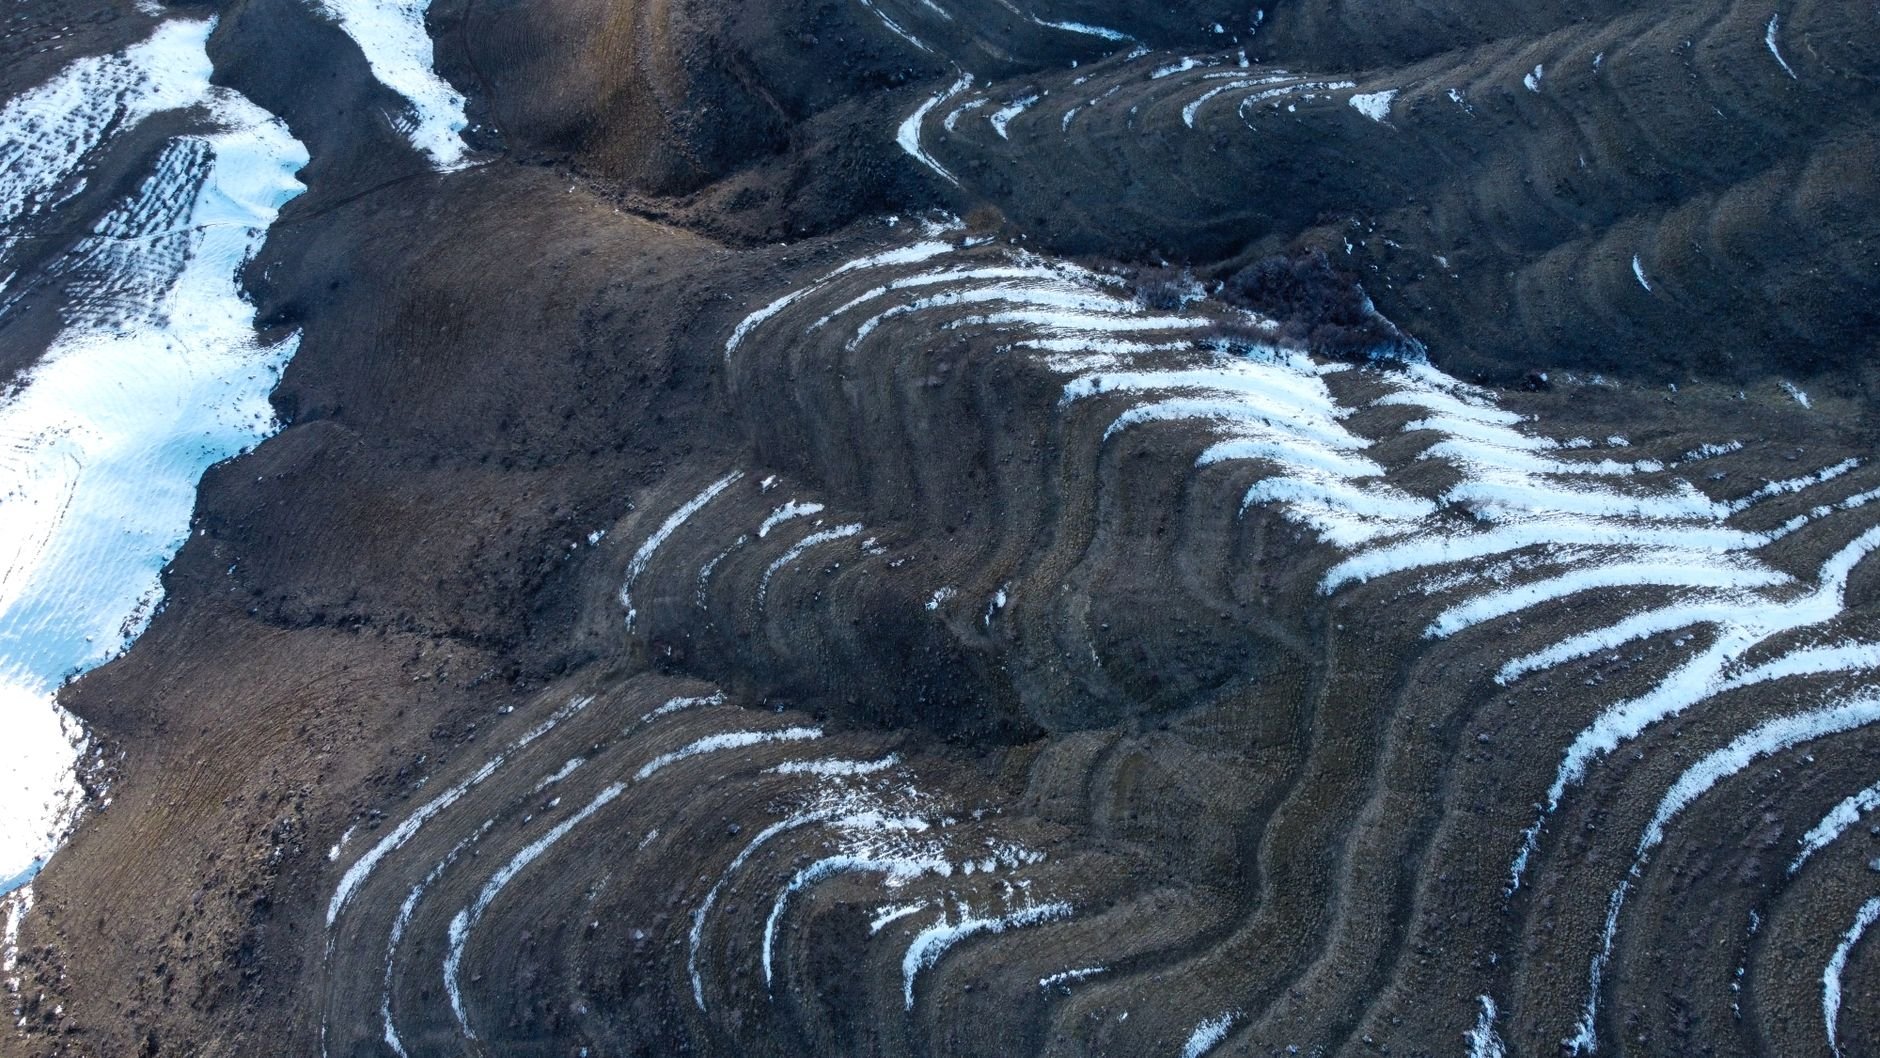
Use this when choosing a line. If a direct route crosses a tight band of contours, look for a way round where the lines open out. On a low hill you can check your reading against the ground immediately, which is why practice close to home pays off before a Highland day.
Taking and following a bearing
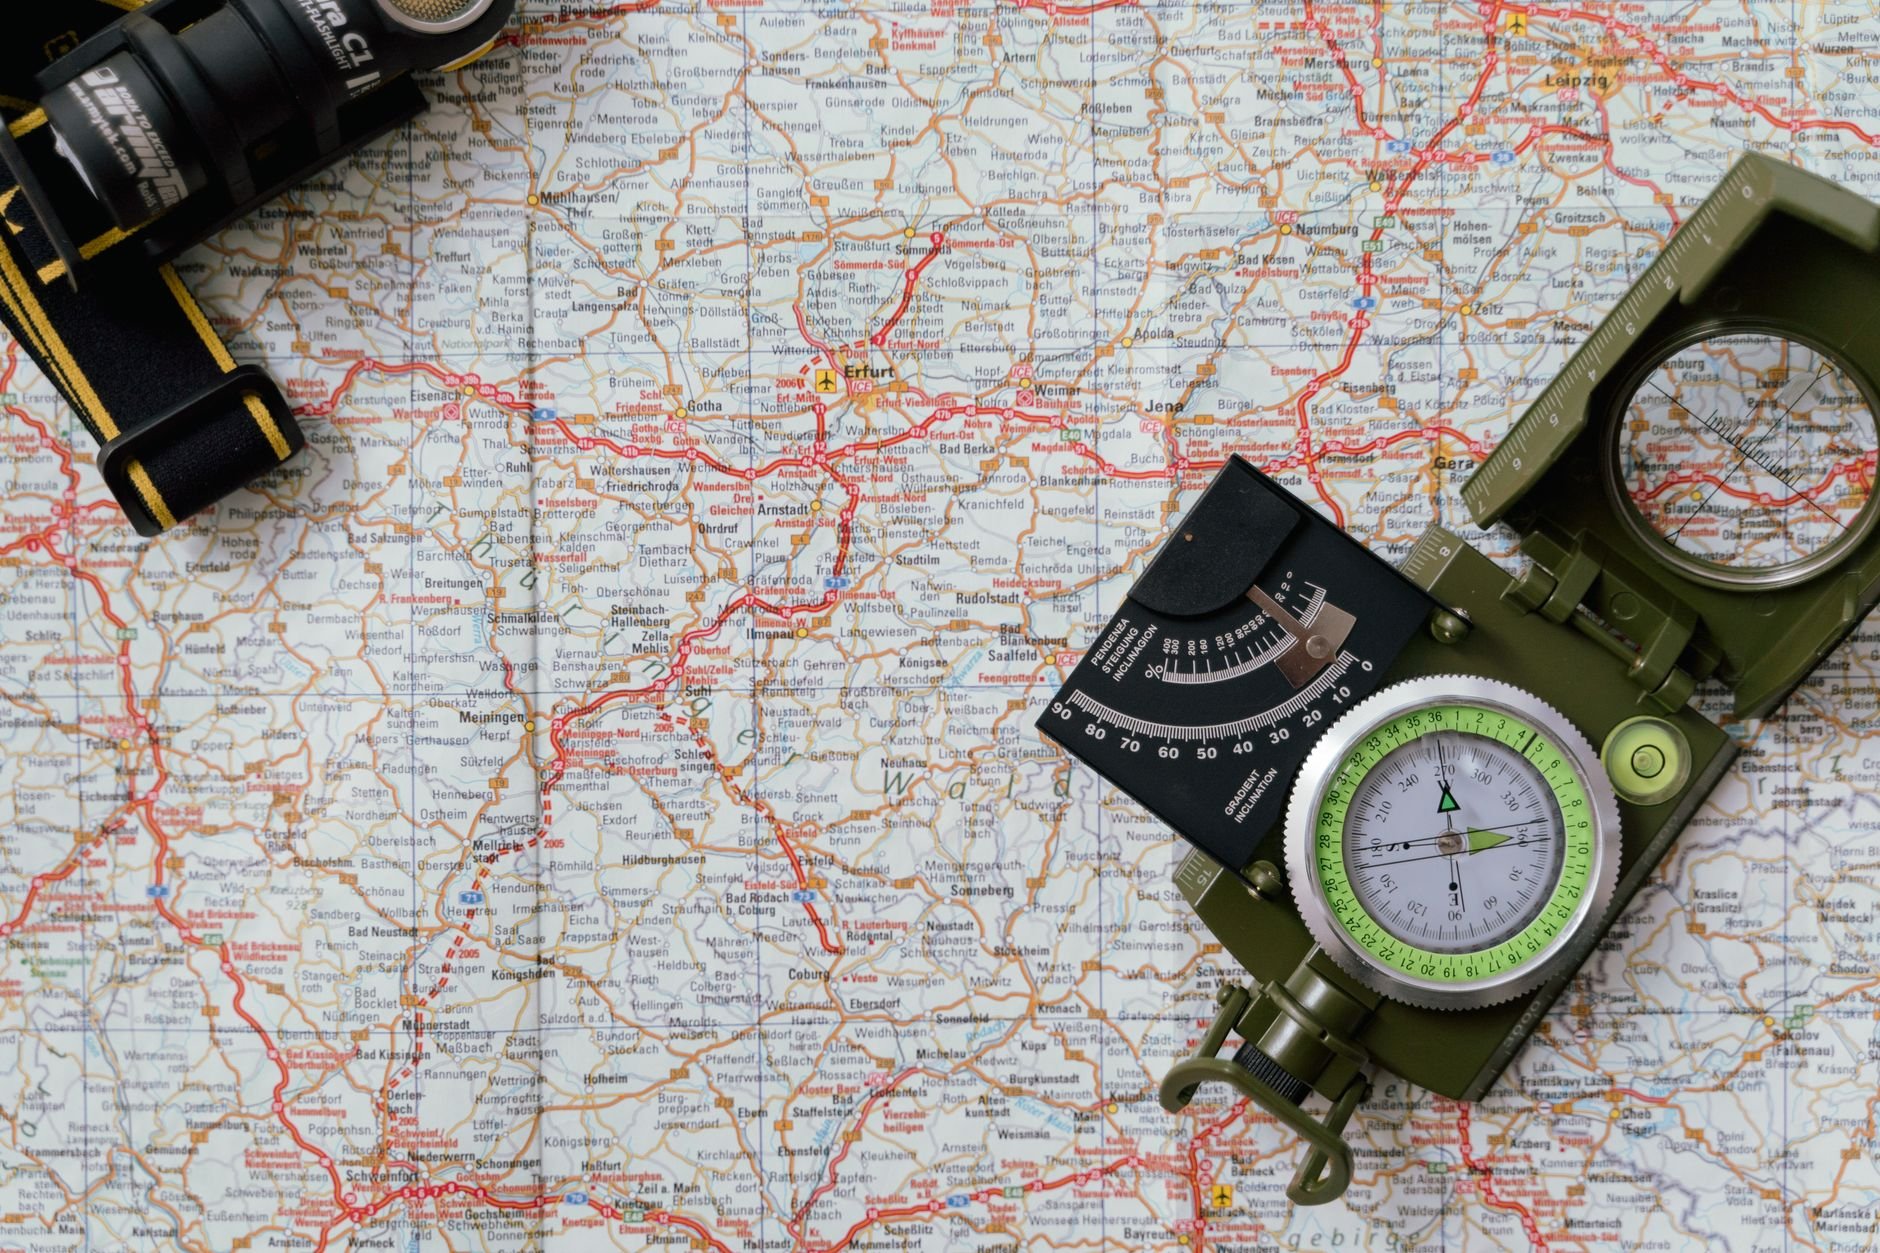
A baseplate compass has four key elements: the baseplate, a rotating bezel, a magnetic needle and a direction arrow. A bearing uses all four to turn a line on the map into a direction you can walk. Most UK day walks rely more on map reading than precision compass work, so treat bearings as the tool for poor visibility and featureless ground rather than something to use at every step.
- Orient the map. Rotate the map and compass together until the red end of the needle aligns with the grid lines, so map north matches north on the ground. Once oriented, left on the map is left where you are standing.
- Lay the baseplate on the route. Place its long edge along the line from your position to your destination, with the direction arrow pointing towards the destination.
- Set the bezel. Turn it until its orienting lines sit parallel to the map’s grid lines, with north on the bezel towards the top of the map.
- Turn your body, not the bezel. Lift the compass, hold it flat and turn until the red needle sits inside the orienting arrow. The direction arrow now points along your bearing.
- Walk to a landmark. Pick a rock, fence post or tree on that line and walk to it, then repeat, rather than staring at the compass as you move.
Keep the compass flat and away from metal objects such as phones, keys or fences, because they can pull the needle off true. That is a good reason to take readings with the phone in a pocket rather than beside the compass.
Phone apps and paper back-ups
A mapping app is a useful extra, not a replacement for a paper map and compass. It can confirm roughly where you are, which helps when you are learning, but a screen in rain is harder to read and a phone that stops working leaves nothing else to navigate with.
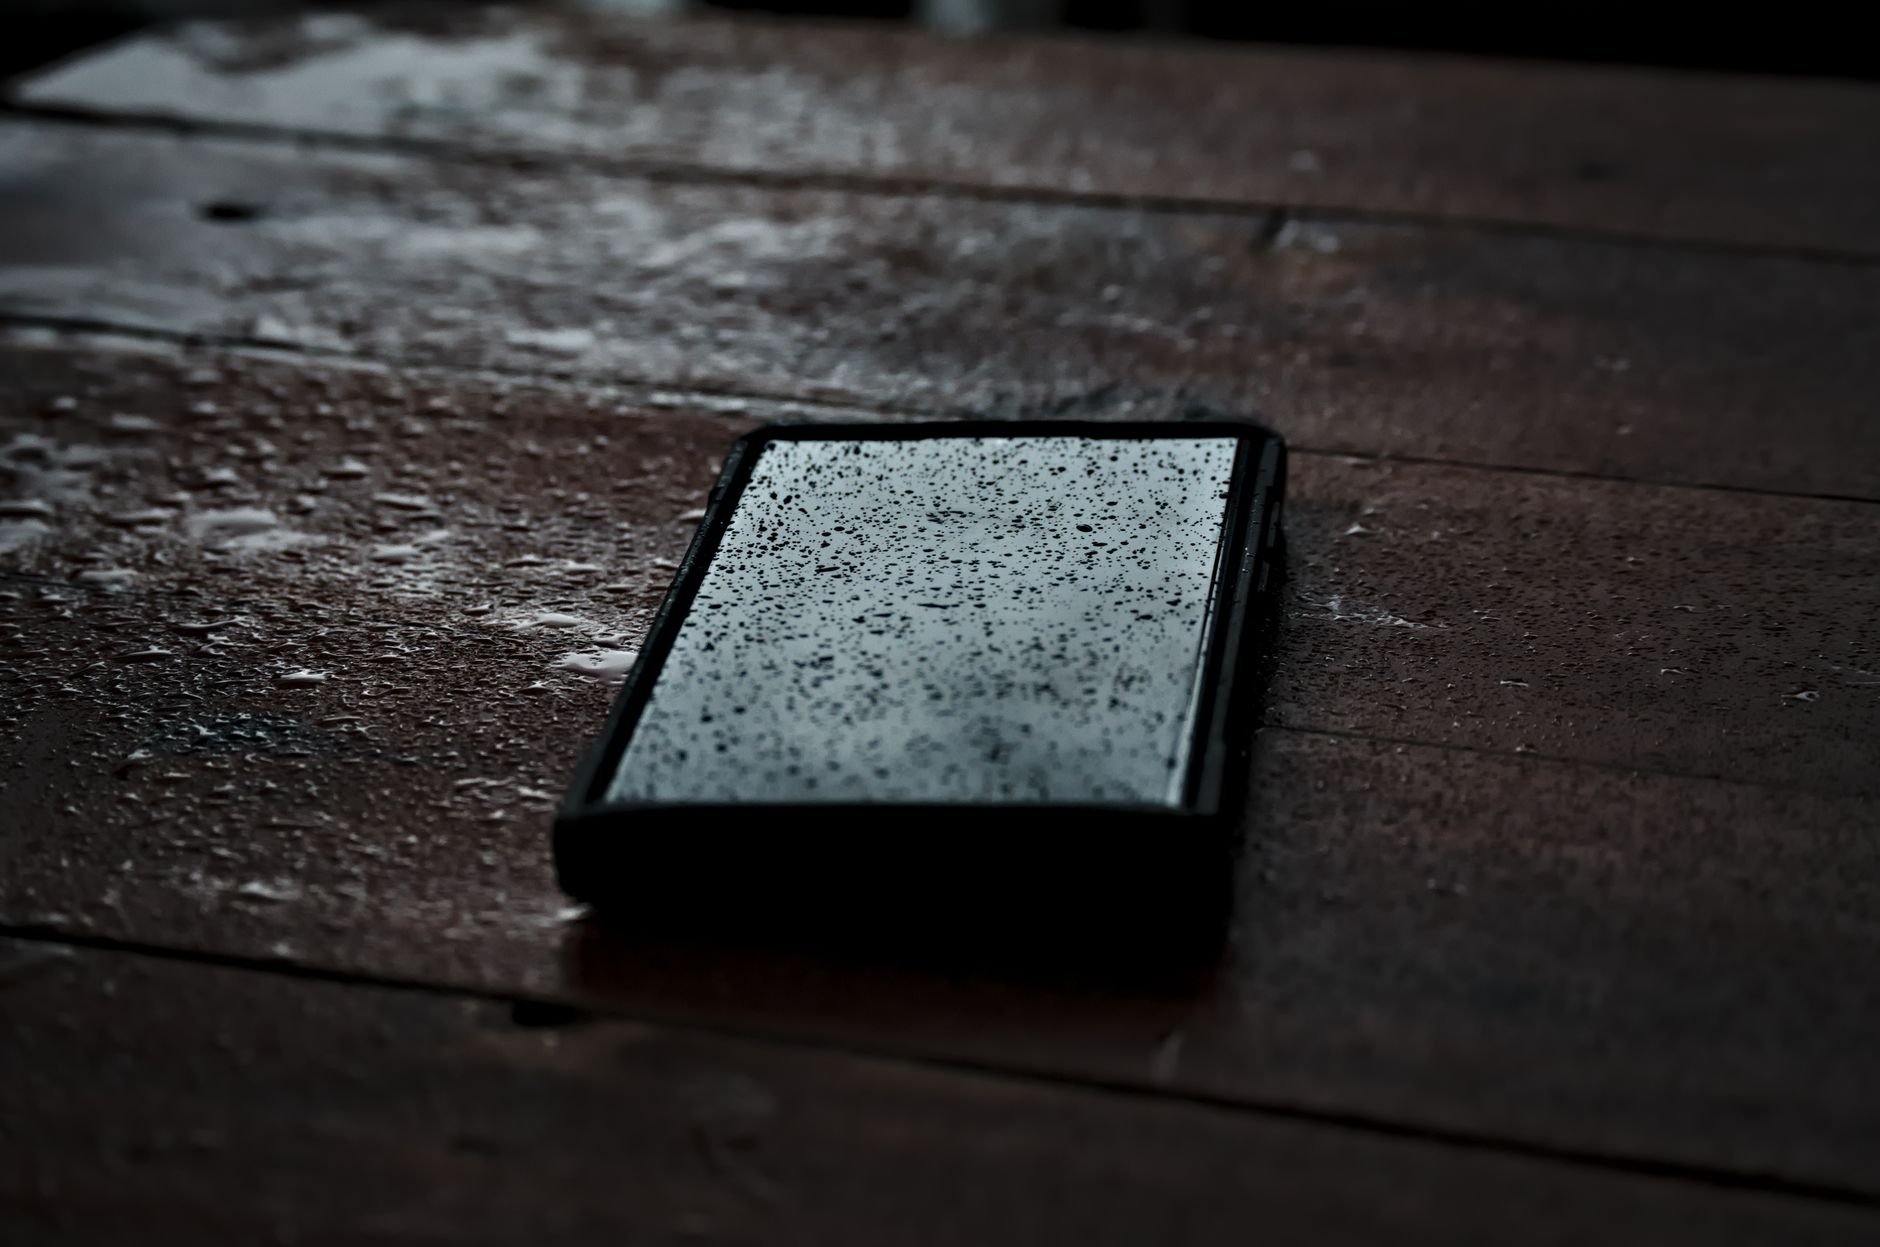
A sensible routine is to use the app for a quick check and the paper Explorer for decisions. Practising the same route on both builds the habit of matching what the screen shows to the printed contours and symbols. If an emergency does develop, the guide on how to call mountain rescue scotland explains what to do, and a phone with battery left matters for that call.
A skills ladder from Fife’s low hills to the Highlands
Navigation improves fastest when difficulty rises one step at a time. Low hills with clear paths and good views let you test the map against the ground with little risk, and Highland terrain then becomes a harder version of something already familiar.
- Rung one: orient and match. On a low hill near home, stand at a junction, orient the map and name three features around you that also appear on the sheet. Repeat until it feels routine.
- Rung two: read the slopes. Before each climb, predict from the contour spacing whether it will be steep or easy, then compare with what you feel underfoot.
- Rung three: short bearings in good visibility. Pick a visible landmark off the path, take a bearing to it and walk it. Because this is often done in rough vegetation, a read of ticks scotland walking is worth doing first.
- Rung four: Highland days. Move to bigger hills only when the earlier steps are quick, and carry the Explorer map and compass even on routes that look obvious.
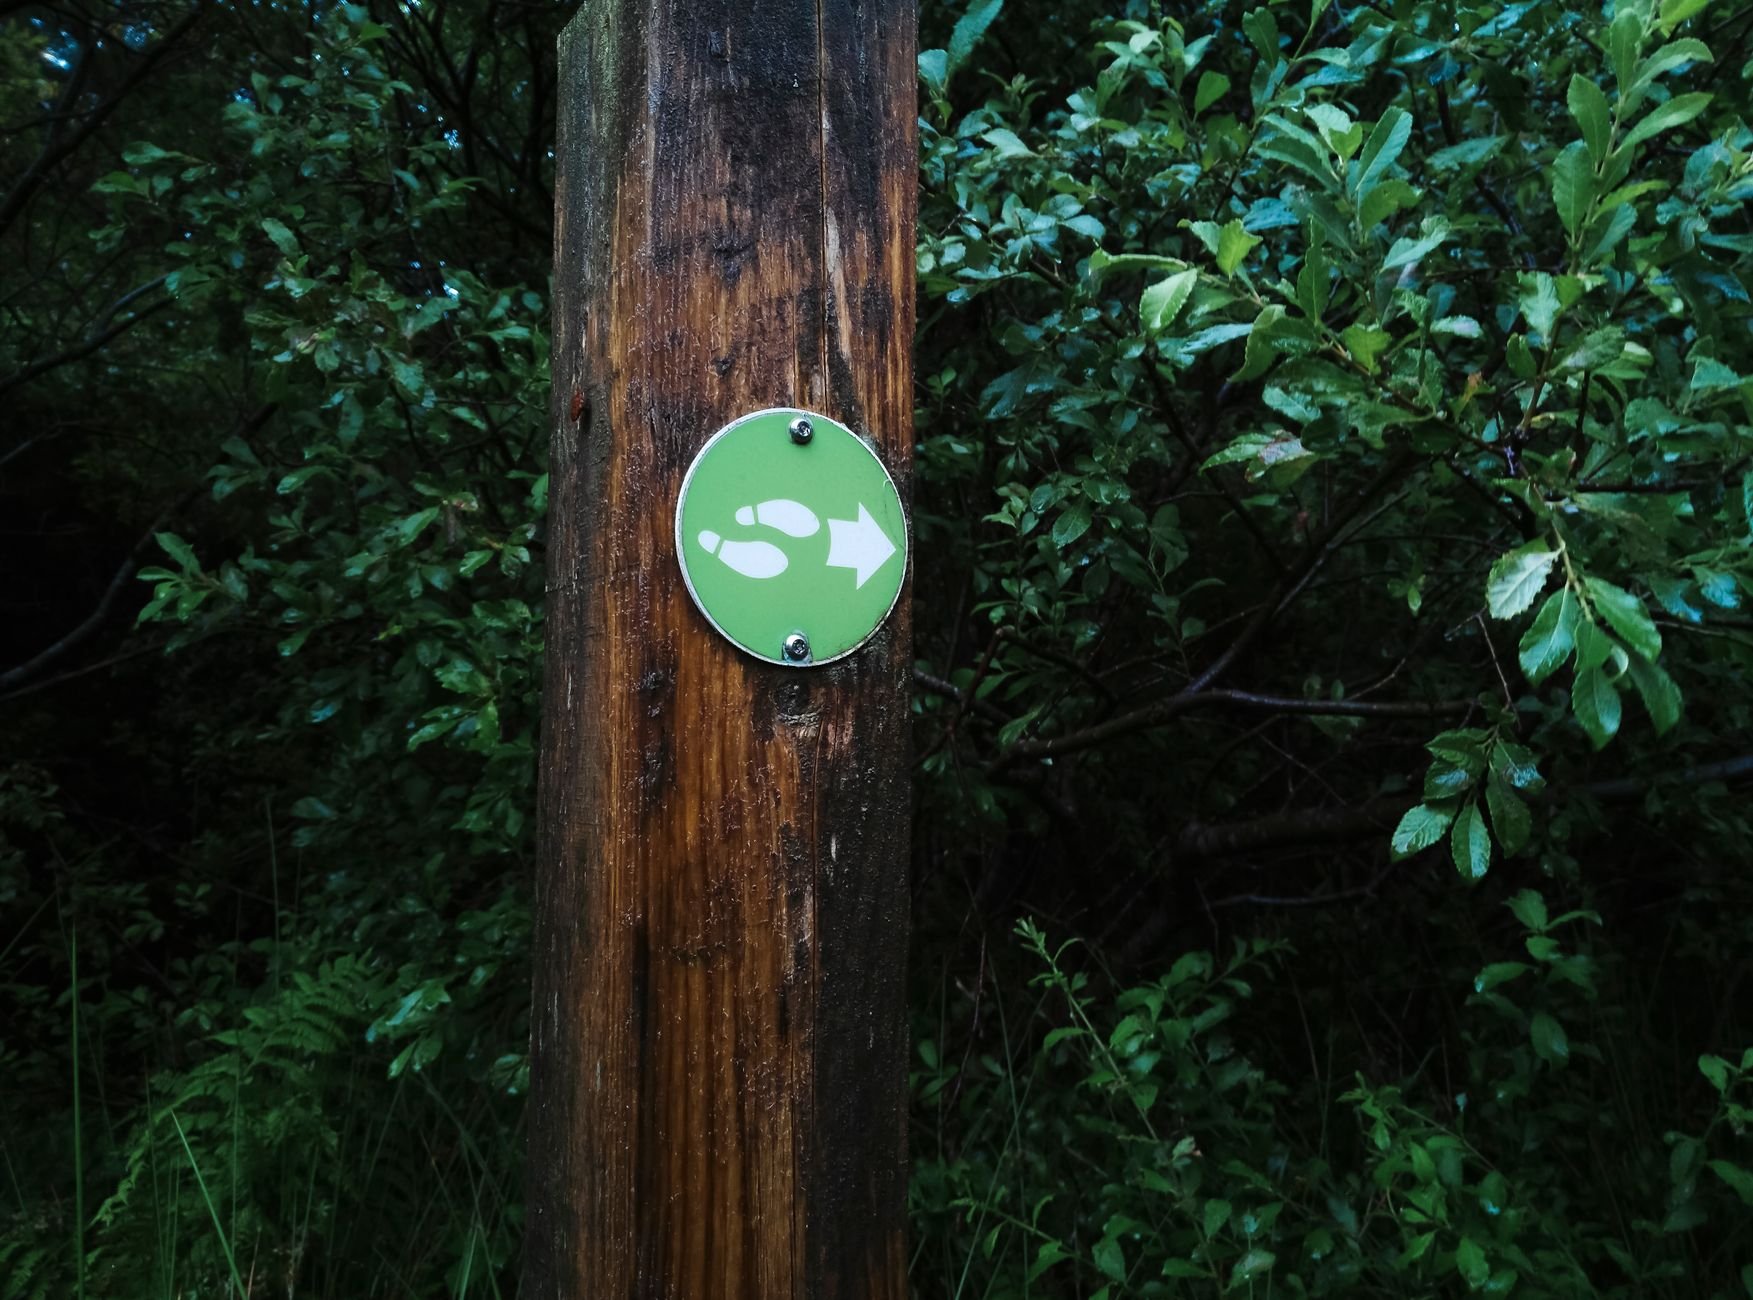
Junctions and waymarks are where walkers most often drift off line. Stop, orient the map, confirm which path you are on and only then continue. Waymarks help, but they confirm the map rather than replace it.
Troubleshooting on the hill
Most navigation problems come down to a few repeatable causes. This table links each symptom to the likely fault and the fix.
| Symptom | Likely cause | What to do |
|---|---|---|
| Left and right on the map do not match the ground | The map is not oriented | Rotate the map and compass together until the red needle aligns with the grid lines, then recheck left and right. |
| The compass needle swings or gives odd readings | Metal nearby | Hold the compass flat and move it away from phones, keys and fences before retaking the reading. |
| The slope is steeper than expected | Contour spacing or interval misread | Check whether lines are close together, which means steep ground, and confirm whether the sheet is lowland or mountainous before judging height gained. |
| Walls, boundaries or small streams on the ground are missing from the map | Wrong scale in use | Switch to the Explorer sheet, which shows field boundaries and small streams that the Landranger does not. |
These checks follow the guidance in a basic map and compass guide.
If none of these resolves the problem, stop moving, go back to the last point you were sure of and rebuild from there. Continuing in the hope of recognising something usually makes the position less certain.
Frequently asked questions
| Question | Answer |
|---|---|
| What does a six-figure grid reference tell me? | Every OS map is divided into 1 km grid squares, and a six-figure reference narrows a location to a 100 m area within one square. Read the eastings along the bottom first, then the northings. Mountain rescue teams, guidebooks and route descriptions all use six-figure references, according to this navigation guide. |
| How quickly should I be able to orient a map? | The same guide suggests repeating the exercise until it takes under 30 seconds. Doing it at every junction on a low hill is an easy way to get there. |
| How do I tell a footpath from a bridleway or open access land? | On the map, dashed green lines are footpaths and longer dashed green lines are bridleways, while yellow tinting marks open access land, per the same source. |
| Do I need to master bearings before walking the hills? | No. Most UK day walks lean more on map reading than precision compass work, so confident map reading and orienting come first. Add bearings once those are routine. |