The best hydration bladder for hiking is a wide-opening reservoir that fits your daypack sleeve. Most reservoirs run 1.5 to 3 litres. Choose a bottle instead when your walks are short and you stop often anyway.
Picture a long coastal or hill day with trekking poles in both hands and the wind picking up. Stopping to dig a bottle out of the pack breaks your rhythm, whereas a bladder with a hose and bite valve lets you drink without breaking rhythm. That trade-off, plus cost, cleaning and cold weather, decides which system suits a Scottish day walk. More kit comparisons sit in our walking gear reviews.
Bladder options at a glance
Three bladders cover most buying decisions: a cheap wide-opening model, a mid-priced 2 L reservoir and a premium 3 L pack-in bladder. The table sets them side by side so you can match capacity and price to the walks you actually do.
| Option | Capacity | Price listed | Standout feature | Planning use |
|---|---|---|---|---|
| Vigor 2 L bladder | 2 L | $12.99, tax included | Large opening for filling and cleaning; food grade material (seller claim) | A low-cost first bladder or occasional use |
| HydraPak Contour 2L | 2 L | $39.90 (checked Oct 25, 2026) | Sits between the other two on price | A mid-range choice for regular walkers on shorter routes |
| Osprey Hydraulics 3L | 3 L | $52 (checked Oct 25, 2026) | Magnetic bite valve with its own on/off switch; 0.52 lb empty | Long days where capacity matters more than weight |
Capacities, weight and features come from Wanderpole’s reservoir roundup and the Vigor product page, with prices in US dollars.
Budget pick: a wide-opening 2 L bladder
A bladder such as the Vigor 2 L suits anyone trying the format for the first time. Its listed price is $12.99, so the cost of a mistake is small.
The maker says the opening is large enough to fill and refill easily, and that the big opening lets you reach every corner inside when cleaning. That matters more than it sounds, because a bladder you cannot clean properly is a bladder you will stop using. The maker also describes the parts as food grade material and FDA certificated, which is a seller claim rather than independent testing.
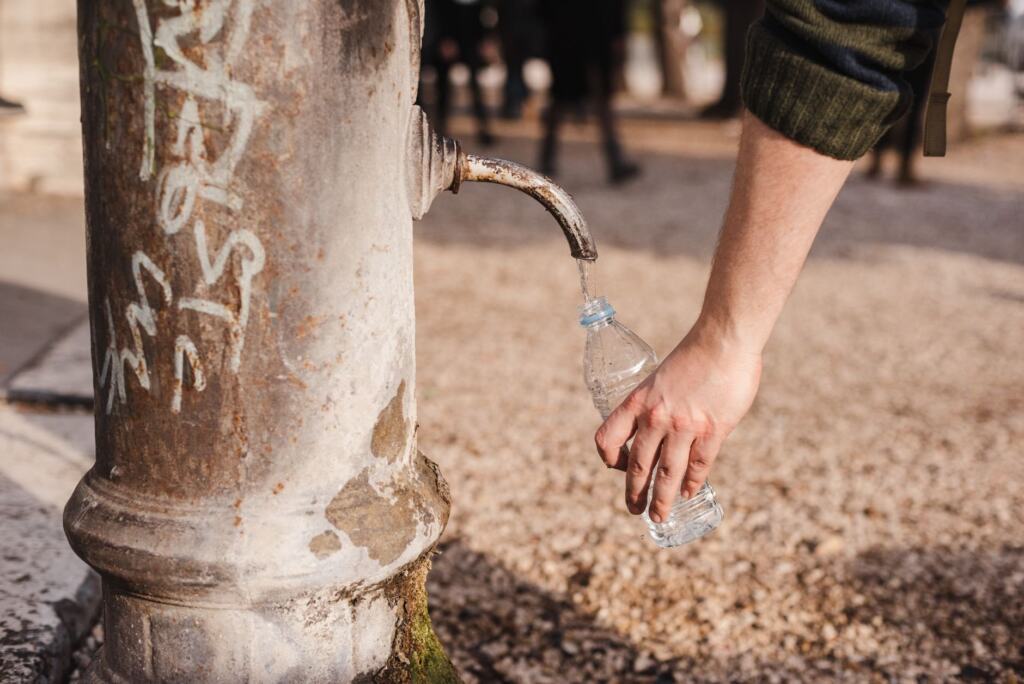
The tube has a shutoff valve that closes automatically and does not leak when the tube is disconnected. The limit is capacity: 2 L is enough for many short and medium routes, but it is the wrong choice if you want one fill to last a long, exposed day.
Premium pick: a 3 L reservoir with an on/off bite valve
The Osprey Hydraulics 3L is the option for long days. Wanderpole lists it at $52 (checked Oct 25, 2026), and its magnetic bite valve has its own on/off switch rather than being a plain bite valve.
The trade-off is weight. At 0.52 lb empty it is heavier than ultralight reservoirs, so it suits walkers who value capacity and a controllable valve over shaving grams. If you carry a light pack for short routes, a smaller bladder is the better match.
The HydraPak Contour 2L, listed at $39.90 on the same date, fills the middle ground. It suits regular walkers who want a step up from the cheapest option without paying the premium price.
For wider context, OutdoorGearLab’s testers report personally testing 11 of today’s top hydration bladder models for hiking. Their ranking is worth reading if you want to compare other brands beyond these three examples.
Water bottles for walking
A bottle remains the simplest hydration system. There is nothing to clean beyond the bottle itself, you can see how much is left, and it needs no hose routing. It suits short walks, mixed groups sharing one bottle and anyone who dislikes the idea of a bladder inside the pack.
Cost is rarely a reason to overspend. The testers at OutdoorGearLab make the point directly: you do not need to spend $50 on a water bottle. An insulated bottle is a reasonable extra where you want a drink to stay cooler or warmer on a break, but it is a preference rather than a requirement.
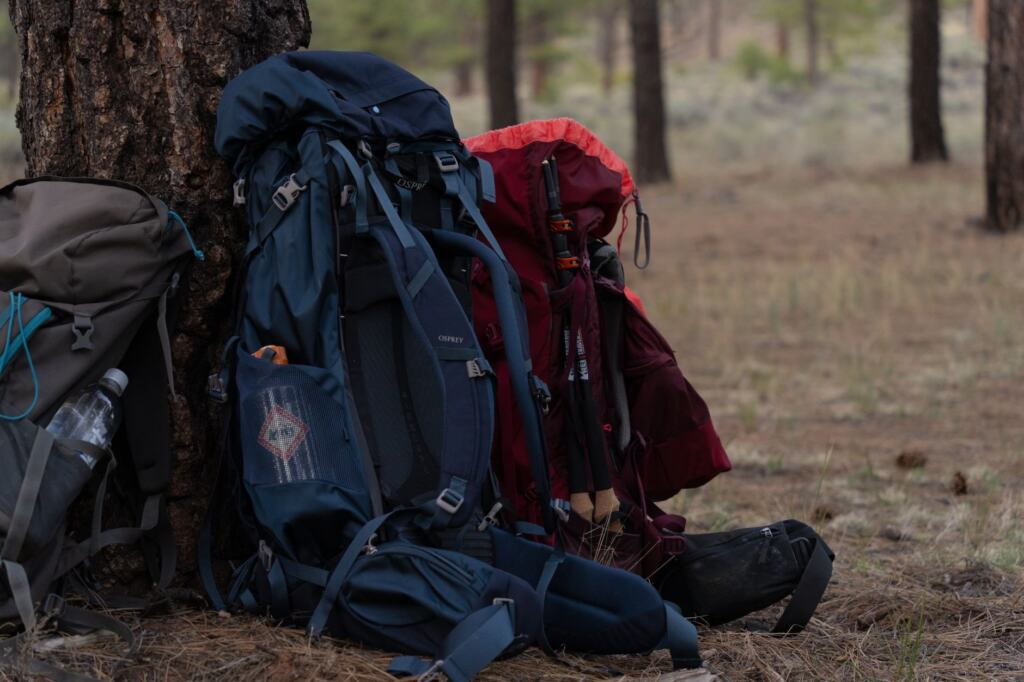
The limit is access. A bottle in a side pocket or the main compartment usually means stopping, and on a windy ridge or a long track that makes people drink less often than they intend.
Bladders or bottles for Scottish day walks
For routes of several hours, a bladder is the better primary system. It gives a steady water supply without the need to stop, and hands-free drinking helps most when you are using poles or scrambling.
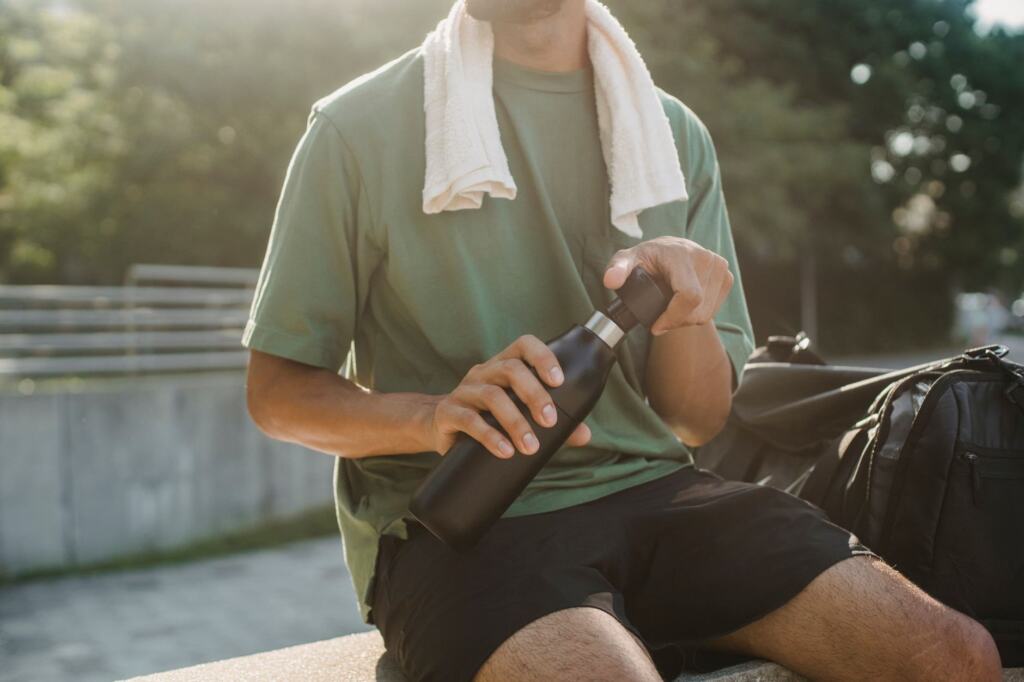
A bottle is the better choice for short walks, for people who want zero maintenance and for anyone who rarely uses a pack with a hydration sleeve. Many walkers settle on both: a bladder as the main supply and a small bottle for tea, an electrolyte mix or a back-up.
- Choose a bladder if you walk for hours at a time, use poles, or want to sip steadily rather than drink in bursts.
- Choose a bottle if your walks are short, you stop at cafés or benches anyway, or you want the least cleaning and fuss.
- Carry both if the route is remote or the weather is changeable, so one failure does not leave you without water.
How much water to carry on a day walk
Match the amount to route length and weather rather than filling every bladder to the top. A short, cool route needs far less than a long, warm or exposed one, and the extra weight on a short walk buys you nothing.
Capacity gives you a ceiling, not a target. The most popular bladder sizes are 1.5L to 3L, so the reservoir you buy should reflect the longest day you realistically plan. Use the smaller end for short and cool walks, and the larger end for long days and warm weather.
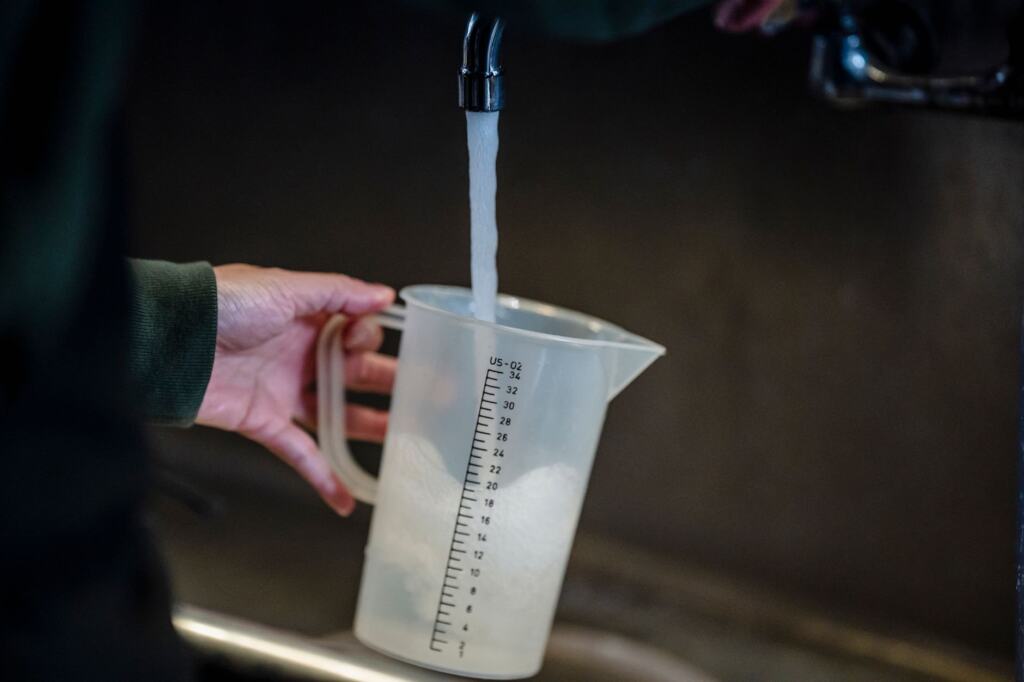
Fill to the amount you expect to drink plus a margin, and note how much you bring home. After a few walks, that leftover amount is the clearest guide to your own needs. For routes passing taps or cafés, carry less and refill.
Filling, cleaning and drying a bladder
Care is where bladders win or lose. Wide-mouth or zip-open reservoirs are much easier to fill, dry and inspect for mould than narrow-cap designs, so opening size should be a buying criterion alongside capacity.
Vigor says its large opening is large enough to fill and refill water, and to reach every corner for thorough cleaning. A practical routine follows from that:
- Empty it after the walk rather than leaving water in the bladder.
- Clean the inside through the wide opening, reaching every corner, and follow your maker’s own care instructions for cleaning products.
- Dry it fully with the opening wide, then inspect it for mould before storing.
Narrow-cap bladders are harder to dry and inspect, which is the main reason to avoid them if you plan to use the bladder regularly.
Decision checklist before you buy
- Check your daypack. Confirm it has a hydration sleeve and note its size before choosing capacity.
- Pick capacity from your longest regular route, not your longest dream day.
- Prefer a wide opening so cleaning, filling and drying are easy.
- Decide on valve and tube features, such as an on/off bite valve or an insulating sleeve for cold days.
- Sort the rest of the kit. Wet routes also call for the best walking gaiters and knowing how to waterproof walking boots.
Frequently asked questions
Does a tube freeze in winter?
A tube can be a weak point in cold weather. Some bladders add protection: Vigor, for example, fits an insulating sleeve to the drinking tube to reduce the temperature change of the water flow. A sleeve helps, but on very cold days it is sensible to keep a bottle in the pack as a back-up.
Will a bladder fit my daypack?
Most daypacks fit 1.5-3L reservoirs, but check your pack’s hydration sleeve size before buying, because the sleeve is what limits capacity.
What does a quick-connect hose do?
A self-sealing quick-connect hose, like the CamelBak Crux’s, lets you detach the reservoir to refill it without removing the whole tube from the pack.